Creating Clones
- Clone - Locate the “Clone” button on the parent project that you want to duplicate.

Number of Clones - Enter the numbers of clones you want to create, then select “Create” to finalize. For example, if you want two additional copies of your current project, enter "2".
Name - Give each clone a unique name to distinguish them.
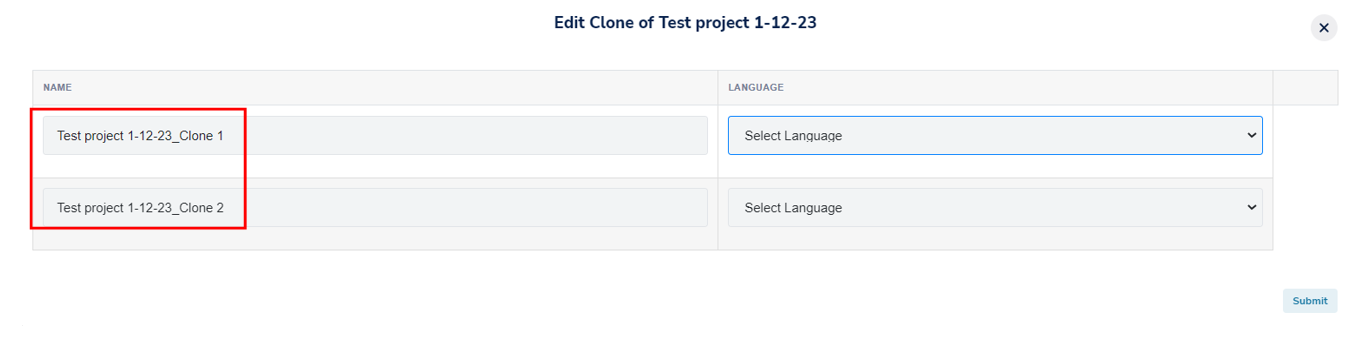
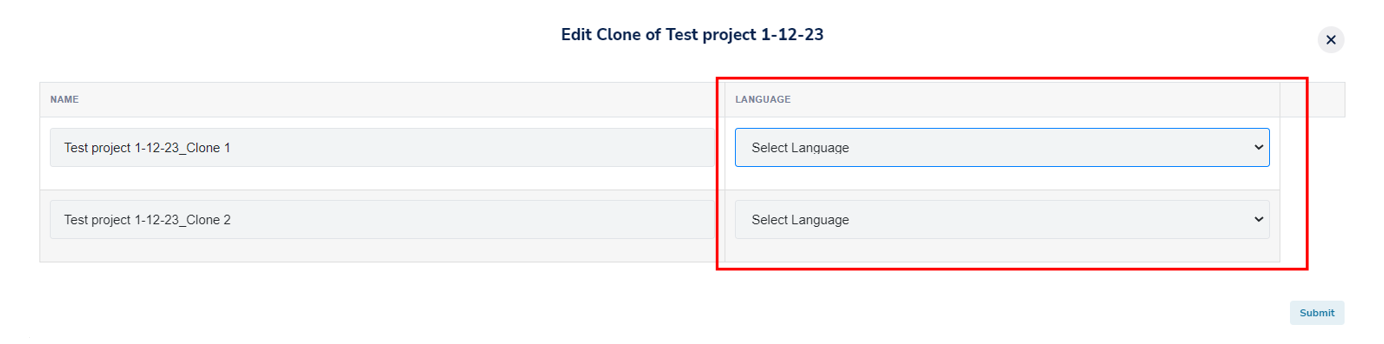
Language - Select the Language you need each clone to be in.
Enter the new URL if required.
A. Static Link - IIf your parent study used a static link, you will be prompted to provide a static link for each of the clones.
B. Pinned Link - If your parent study utilized unique links, you will also need to set up unique links for each of the clones. Click here to learn more about implementing pinned/unique links in Zamplia.
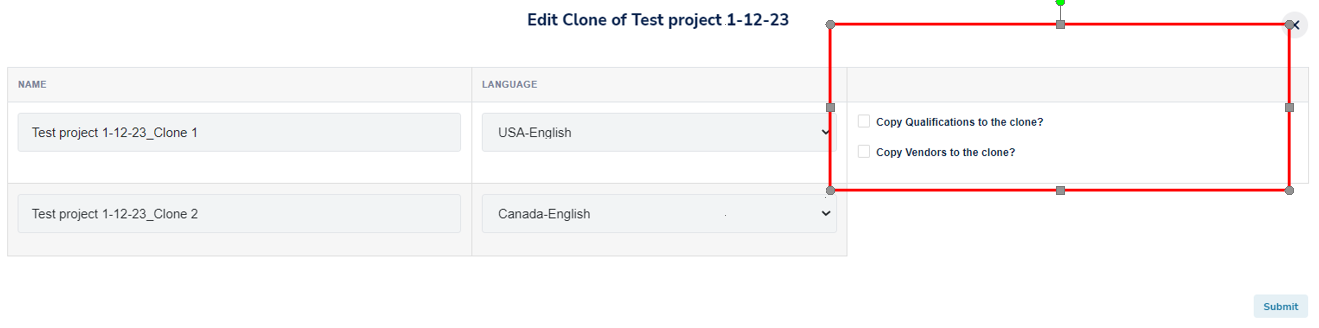
Qualification and Vendors - Choose the qualifications and vendors you want for each of the clones.
A. Same Region as Parent Project - If the clone is in the same region as the parent study, you have the option to copy over the same qualification and vendor settings from the parent study.
B. Different Region as Parent Project - If the clone is in a different region than the parent study, you will need to select the target audience for the clone through the Project (API).
Submit - Select submit, and you will be taken to the Clone list for the project.
Clone List - Select the clone that you want to edit from your clone list.
Project (API) - Once you enter your clone’s project page, select “Project (API).”
Select the qualifications and vendors you want to use for the specific clone.
Update Project - Update Project to apply the selected settings to the clone.
Launch - If you are satisfied with the setup of the clone, change the project status from "On Hold" to "Live" to start the clone.