Project Setup
To set up a project on Zamplia, simply follow the step-by-step instructions provided. The process is user-friendly and straightforward.
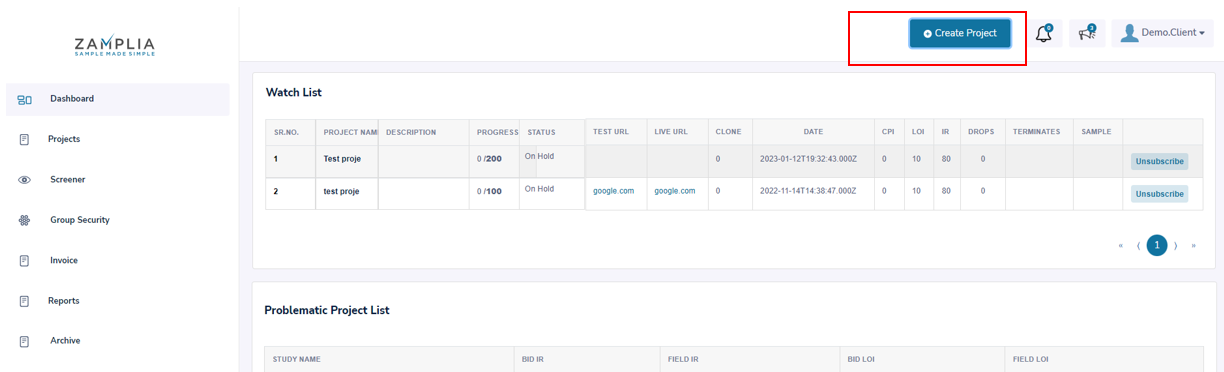
To start a new project on the platform, click on the "Create project" button. Here you’ll be able to check Zamplia's feasibility or go ahead with launch.
Next, fill in the project specifications.
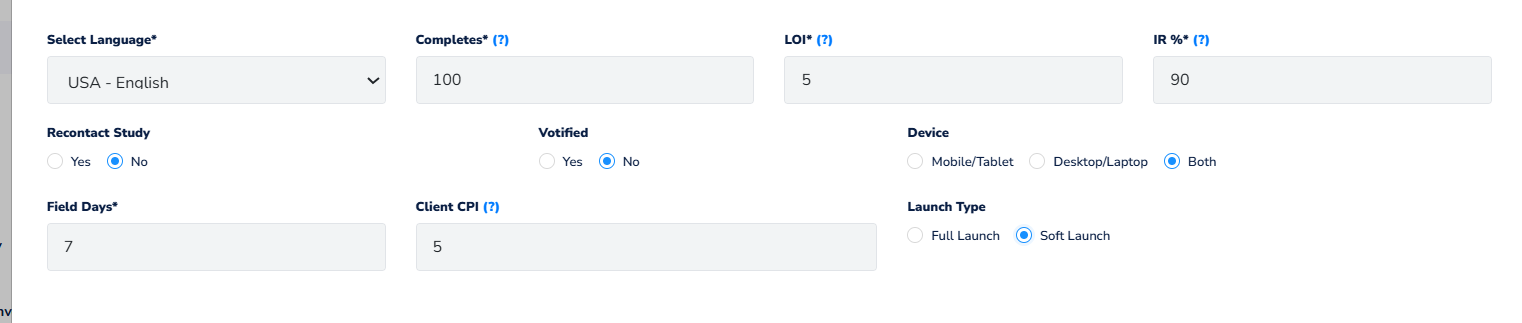
A. Select Language - Choose a language and region for your project.
B. Completes - Input the desired number of participants (completes) for your study.
C. LOI - Enter the length of the interview (LOI).
D. IR - Specify the incidence rate (IR), which is the probability of participants completing your survey after being targeted for the required demographics.
E. Recontact Study - Decide if you want to enable recontact, which allows you to re-engage the same participants in future study. Recontact studies allow you to collect updated data from the same participants and compare their responses over time.

Choose the target audience for your study:

Basic - Listed here are the top most used qualifications on our platform. It is important to always include Gender and Age as the qualification in all of your set-ups.
Region - Narrow down your target using various regional breakouts available in Zamplia.
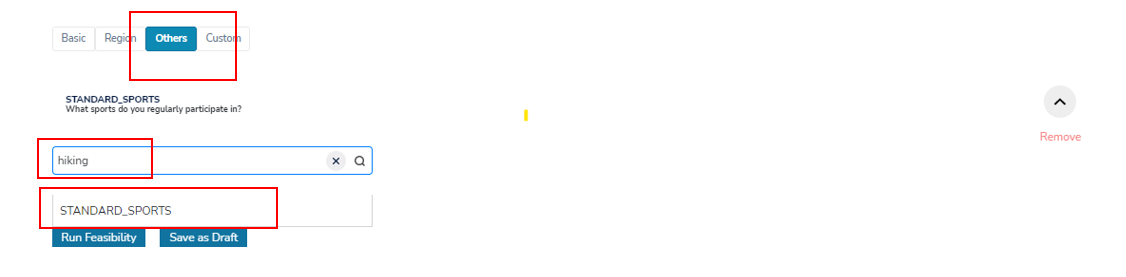
Others - Search for additional qualifications using keywords, as Zamplia offers over 100 qualifications to choose from.
To target individuals who hike, for example, type "hiking" as a keyword in the search to find related qualifications.
Custom - Allows you to create your own screener to help screen out respondents who run through your study. To learn more about Custom Screener select here.
Apply quotas on the qualifications you selected for your study. To learn more about Quotas select here.
Ready to launch? Hit Create Project Or Simply Save for later.

A. Click Run Feasibility - Zamplia will generate a report based on the available vendors matching your selections, including the vendor's sample sizes and their set rates for your project requirements.
B. Save as Draft - Select Save as Draft if you wish to save your progress to continue later
Select Vendor - Choose the vendors you want to use for your study. Quotas will be automatically assigned to the selected vendors and will be evenly split among them. You can overwrite and revise the allocated quotas if needed.

Ready to launch? Or Simply Save for later. A. Create Project - This will initiate the next steps for project set up. B. Save as Draft - Select Save as Draft if you wish to save your progress to continue later.
Project name - Name your project under "Project Name”. Please ensure the name is unique and not used in any previous project setups.
Category – Indicate the topic of your study in the "Category" field.
Select Study type – Specify if your study is an Adhoc or Tracker study under "Select Study Type."
Choose the security features you want to include in your Zamplia setup:
A. Survey Length Speed check - Allows you to monitor the speed at which a respondent completes the survey. They will receive a security termination if they answer too quickly.
In the example below, 2 minutes has been indicated for our speed check.

B. Calibr8 - Calibr8 is our proprietary fraud detection engine, built to safeguard the quality and reliability of your survey results. The "8" in Calibr8 represents the eight key metrics used to screen respondents before they reach your survey.
Just toggle it on when setting up your next Zamplia project — and let Calibr8 do the heavy lifting in keeping your data clean.
Eight Key metrics :
1. Global Restrictions
Detects VPNs, proxies, duplicate IPs, and improper geolocation to ensure data authenticity.
2. Metadata Scoring
Validates device and operating system fingerprints to prevent duplicate entries and fraudulent activity.
3. Open-End Review
Flags irrelevant, nonsensical, or low-effort responses in open-ended questions to maintain response quality.
4. AI Detection
Blocks AI-generated responses to ensure genuine human feedback.
5. Biometrics
Monitors keystroke and mouse movement patterns to detect irregular or automated behavior.
6. Coherency Scoring
Assesses logical consistency across related questions to ensure the reliability of responses.
7. Behavioral Data Monitoring
Tracks shifts in respondent behavior and flags potentially compromised panelists.
8. Red Herrings
Uses trick questions to identify inattentive or disengaged respondents.
C. Group Security check - Prevents duplicates from one study to another by cross-checking completions from different studies. If you have completed coming into study A and don't want them completing in study B, you can apply the group security to both studies and it will help you cross check and prevent any duplications. Click here to learn more about Group Security.
Link Setup - Choose the type of URL setup your survey requires. Be sure to implement Zamplia endlinks in your survey before continuing with your URL set up on Zamplia. For additional information on link set up please select here.
Static Link - Zamplia offers support for studies that require an open link. Open link means you’ll only be passing back the panelist ID to Zamplia.
Pinned Link - Zamplia supports studies that require unique links.
QA instructions - Some vendors may require a complete test before launching a sample for your project. Type in instructions on the best stream to test for completions and include any non-targetable qualifications (e.g., "QA: +18, Male, Must work from home at least 2 times a week").

Client PO - Input your project’s PO in the designated field. This will serve as reference during invoicing.
Ready to launch? Or Simply Save for later. A. Create Project - This will initiate the next steps for project set up. B. Save as Draft - Select Save as Draft if you wish to save your progress to continue later.
Review your project settings - Once you are in the project page, review and verify all the settings that you assigned to your project.
Test your project - We always recommend that your test your project to ensure that your Zamplia redirect set up is correct. To learn more about testing select here.
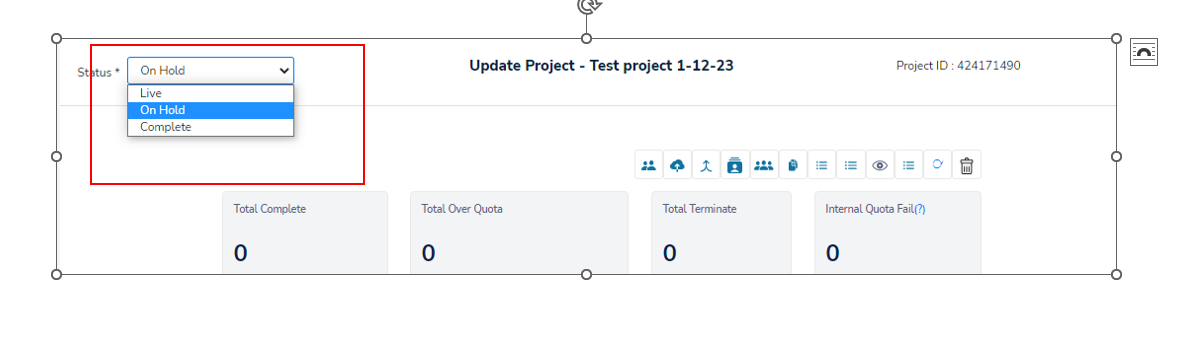
Change study status - Change the status of your study from "On Hold" to "Live". The vendors will be notified to launch sample for your study.
=======================================
Zamplia Soft Launch Functionality
1. What Is Soft Launch?
Soft Launch is a new feature in the Zamplia platform that allows you to test your survey with a smaller sample size before fully launching it. This helps you validate:
- Survey logic
- Question flow
- Quota distribution
- Respondent experience
- Data quality
Once you are confident everything looks good, you can seamlessly switch the survey to Full Launch.
2. How Soft Launch Works in Zamplia
You will begin by creating your survey exactly as you normally do on Zamplia.
Example: You are planning a survey with 1000 completes (1000N).
Before fully launching it, you want to run a small-scale soft launch.
To switch to soft launch, simply toggle the Soft Launch option as shown in the platform.
 Once switched, Zamplia will:
- Automatically convert your full sample size into 10% soft launch sample.
- Automatically adjust quotas based on 10%.
Example:
Full Launch N = 1000
Soft Launch N = 10% of 1000 → 100 completes
3. How Quotas Work During Soft Launch
Zamplia automatically adjusts quotas to 10% when you enable soft launch.
Full Launch Quota Example:
- Male: 490N
- Female: 510N
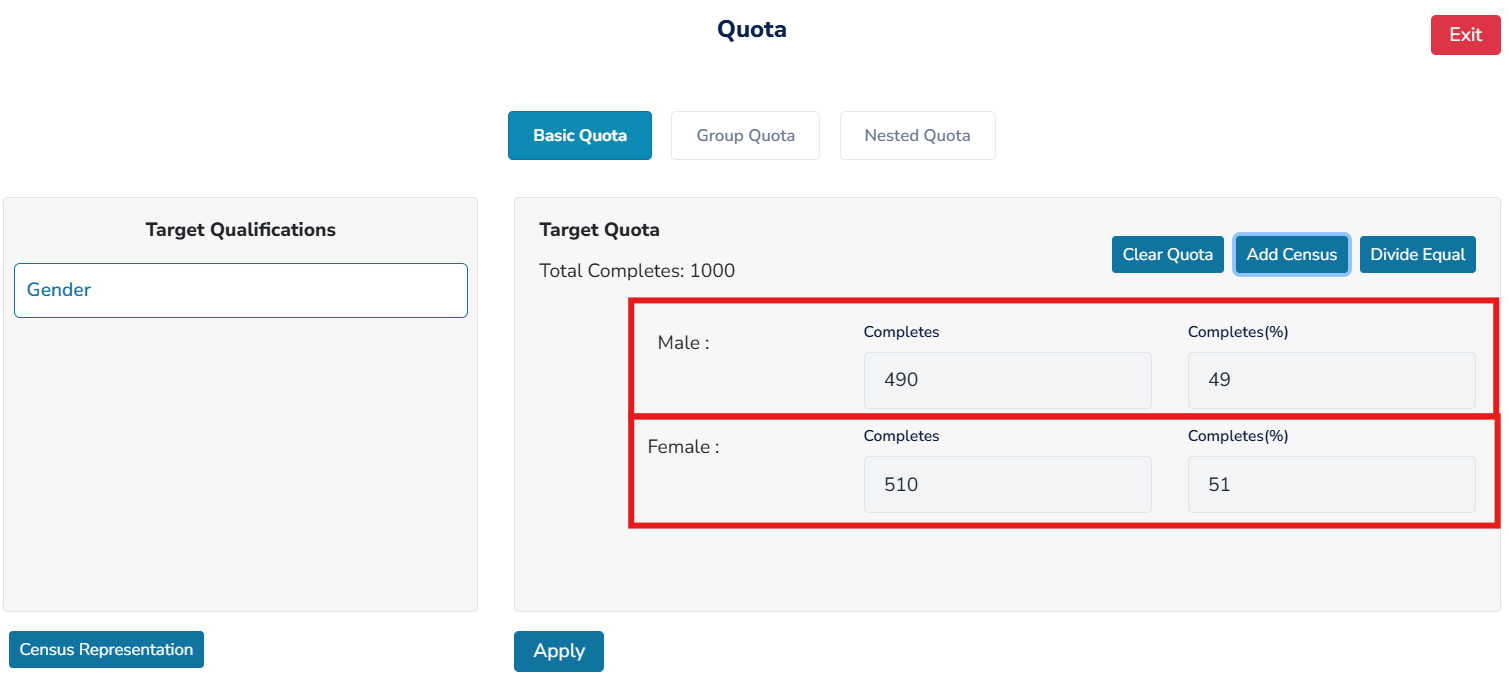
Soft Launch Quota (10%):
- Male: 49N
- Female: 51N
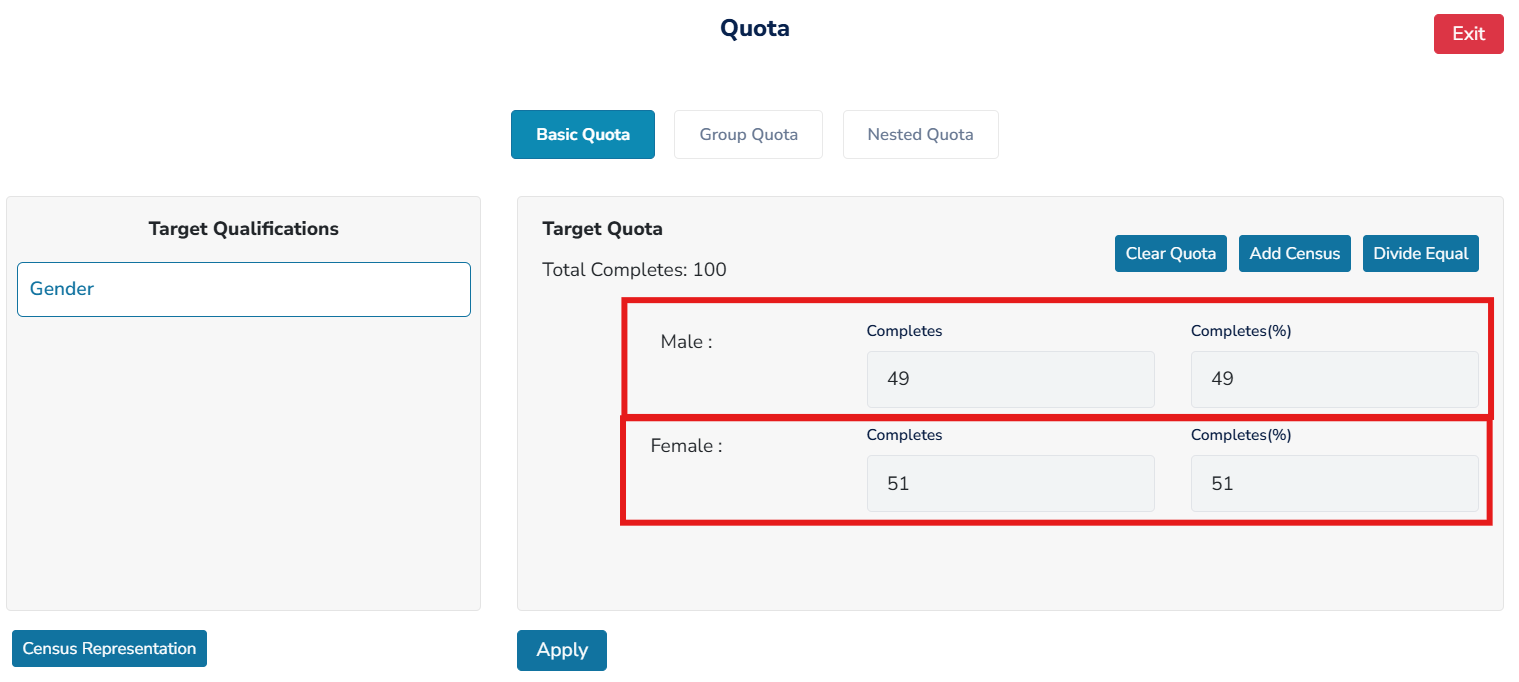
You do not need to manually recalculate quotas—Zamplia handles it for you.
4. Switching From Soft Launch to Full Launch
Once your soft launch completes (minimum one complete is required), you can switch to a full launch.
Steps:
- Follow the usual process of updating your project through the Project API.
- Change the survey status to Full Launch.
- The system will automatically activate full sample size and full quotas.
Important: You cannot switch a survey back from full launch to soft launch.
Note: Your soft launch must have at least one complete before switching to full launch.
Advanced UI Suggestions (Optional)
- You can add styled tables for quota visualization.
- Add interactive toggles or progress bars for Soft vs Full Launch N.
- Highlight important notes using Markdown callouts or emojis.
This Markdown file preserves all your text and can be rendered in any Markdown viewer or documentation platform.