Issue Reporting (Jira)
Creating and Managing a Support Ticket in Zamplia
If you need assistance or have any concerns regarding Zamplia, you can raise a support ticket by following the steps below. This will help our team investigate and resolve your issue more effectively.
Step 1: Accessing the Ticket Form
- Click on Submit Feedback within the platform.
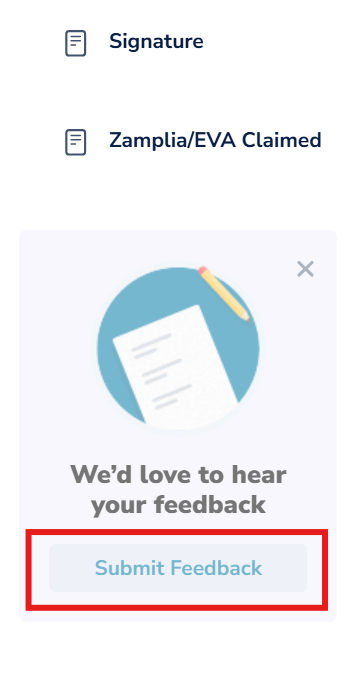
- You will be redirected to a new tab for Zamplia Support.
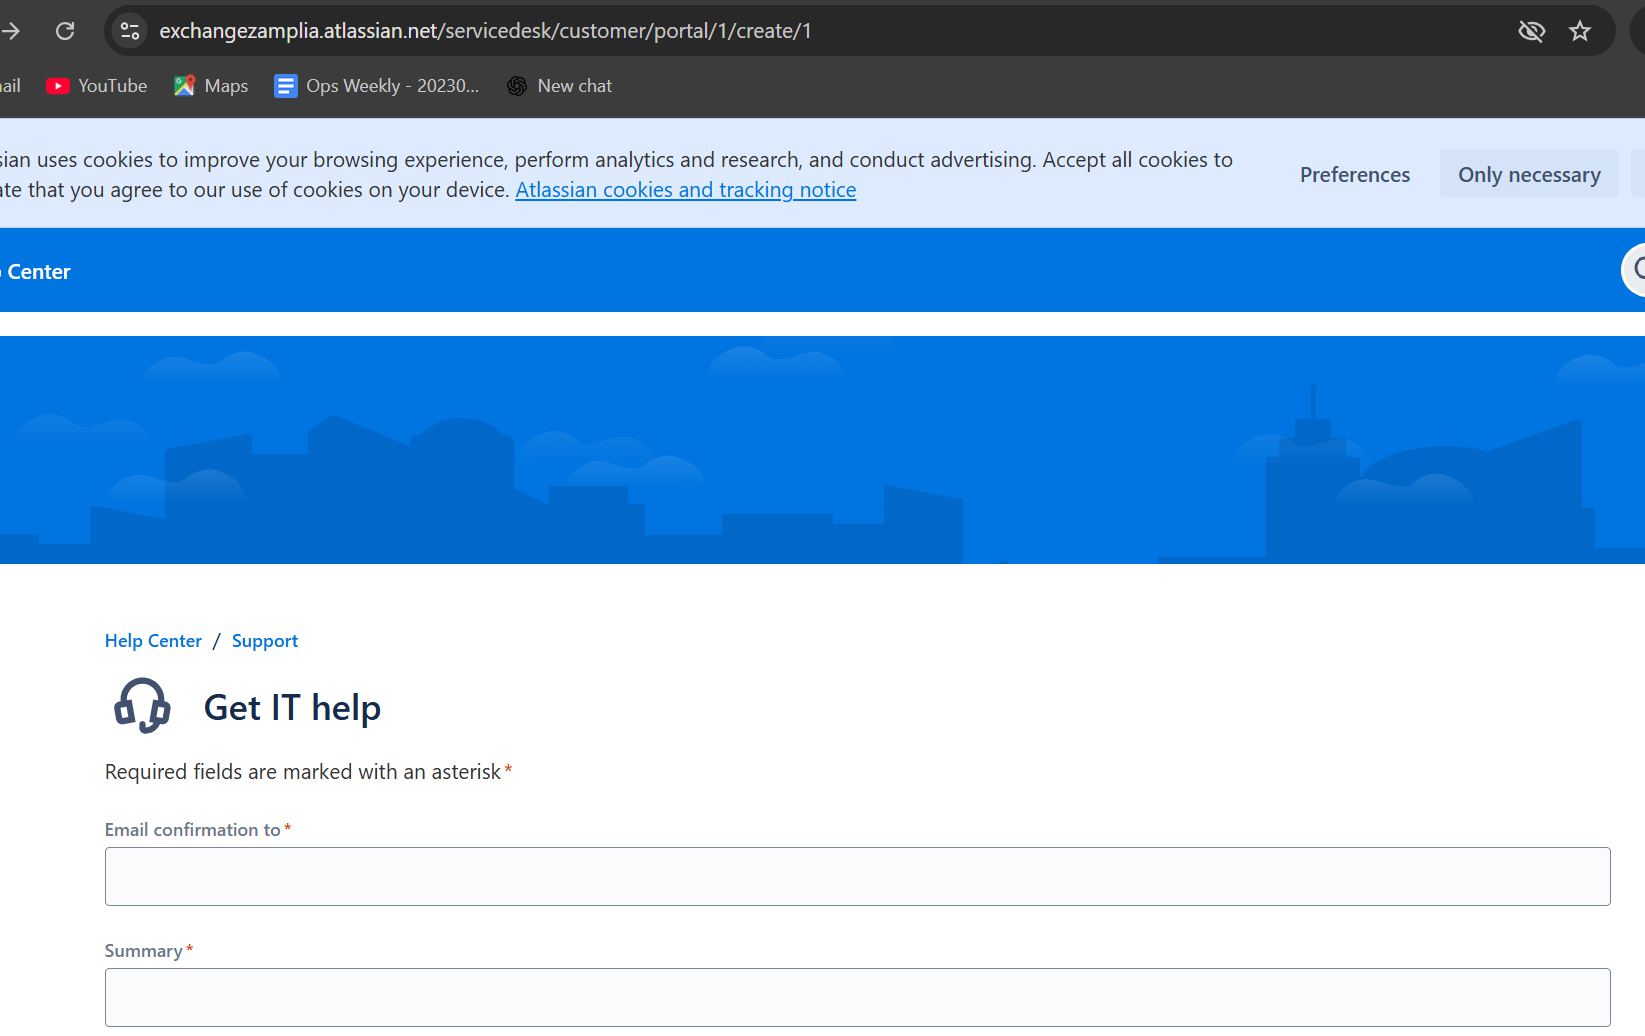
Step 2: Filling Out the Ticket Form
When filling out the form, kindly complete the following fields carefully:
• Email Confirmation To: Enter your email address. You will receive all updates regarding your ticket here.

• Summary: Clearly mention the topic/title of your concern.

• Explain What Caused the Issue: Provide all relevant information about the problem.

o Include a step-by-step explanation so our team can reproduce the issue on their end.
o The clearer your explanation, the faster we can identify and resolve the concern.
• Priority: Select the priority level based on the urgency of the concern.

o High: Immediate impact on project or work.
o Medium: Needs attention but not urgent.
o Low: Minor issue or general inquiry.
• Attach Documents:

o Add any supporting files/screenshots that may help our team investigate the issue.
o You can either drag and drop files into the Drop files to attach section or click Browse to select them from your system.
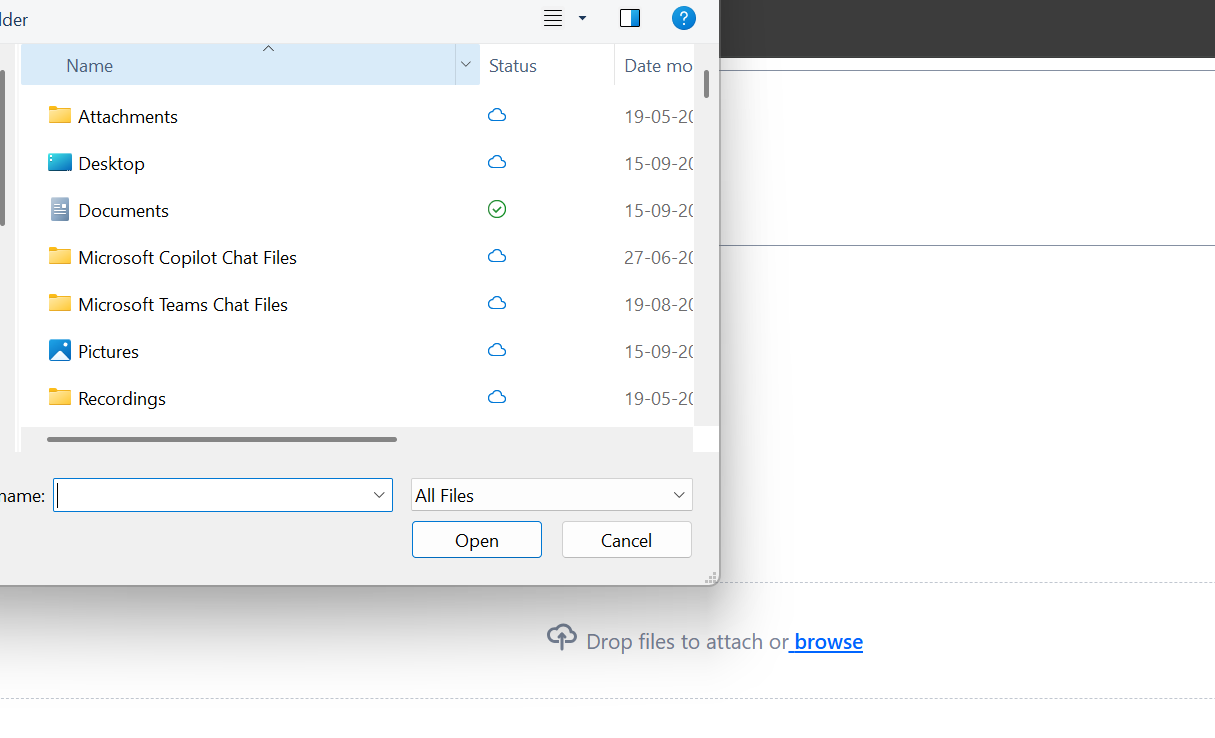
o After choosing the file(s), click Open to attach them.
Step 3: Review Before Submission
Before sending your ticket, kindly review all fields:
• Email
• Summary
• Explain What Caused the Issue
• Priority
• Attached Documents
If everything looks correct, click Send.
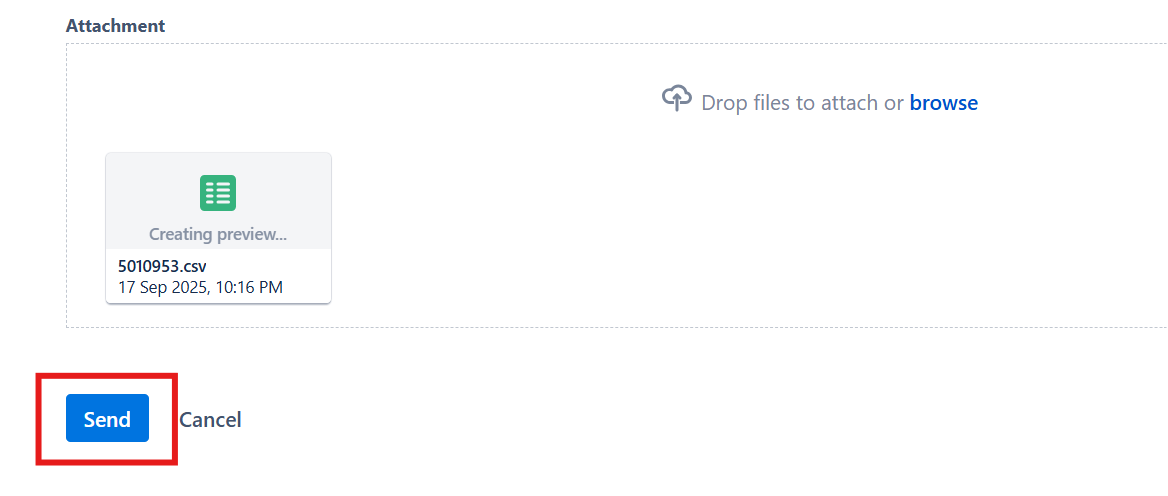
• Your ticket will be submitted to Zamplia Support and you will receive the confirmation message.
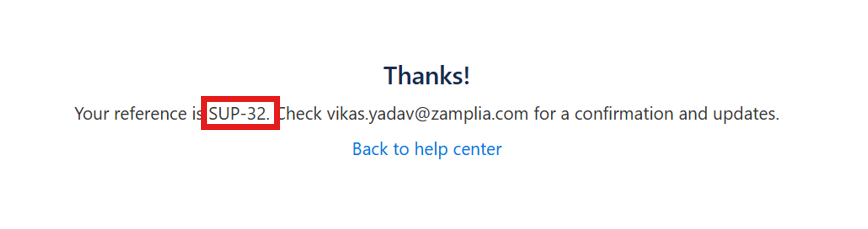
• You will receive a confirmation email with your ticket number (e.g., SUP-32).
Step 4: Confirmation and Tracking
You will receive below mentioned email on shared email ID.
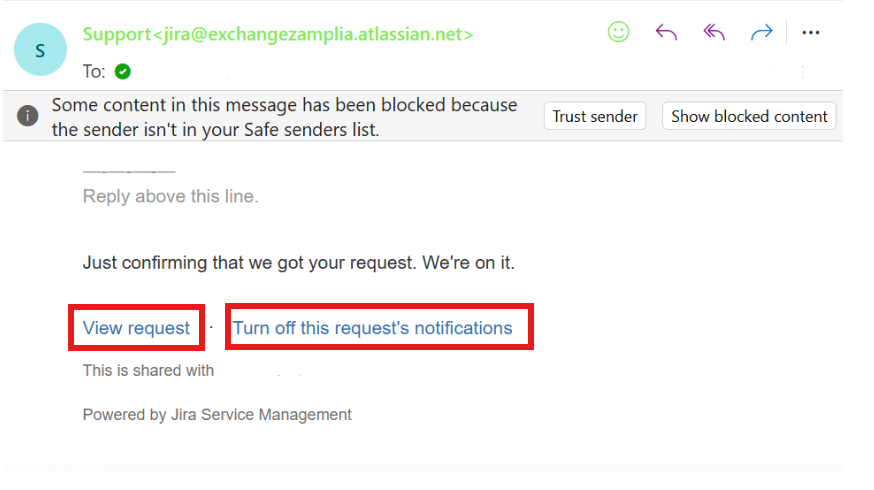
• In the confirmation email, click View Request to see all details of your ticket.
• This section will also show all updates and activities related to your ticket.

Step 5: Ticket Management Options
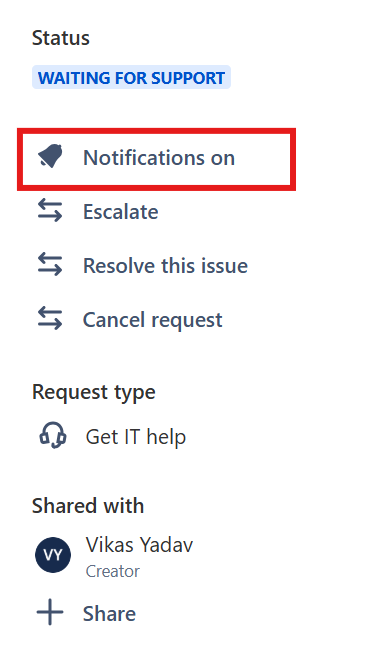
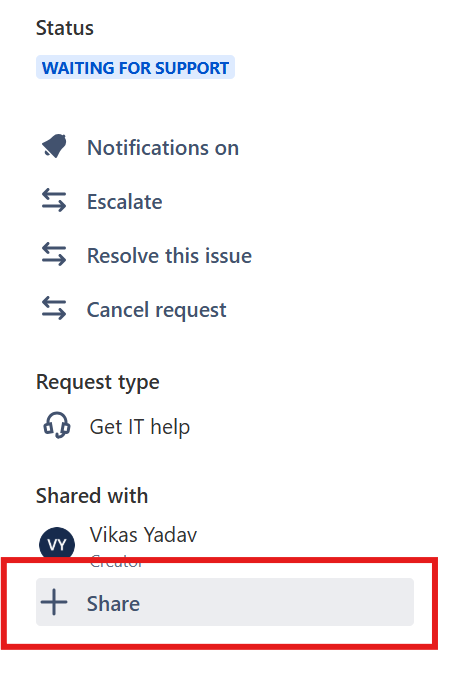
On the right-hand side of your ticket page, you will find several options:
• Status: View the current status of your ticket.
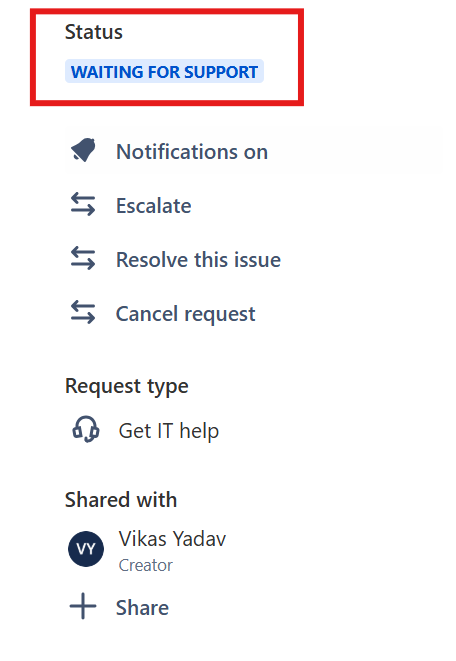
• Notifications On/Off: Enable or disable notifications for this ticket.
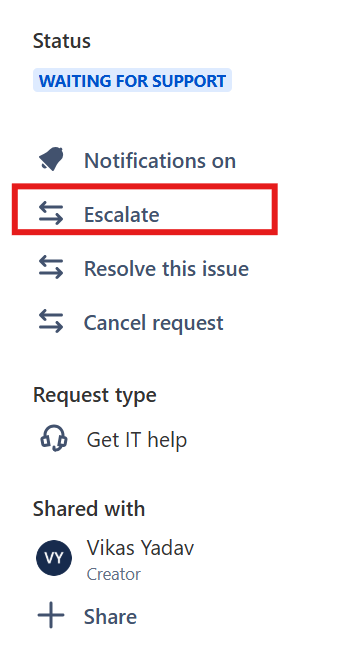
• Escalate: Add additional information and escalate the ticket if needed.
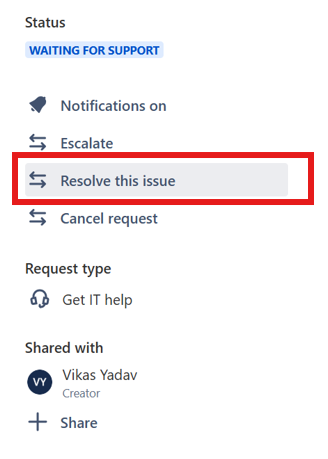
• Resolve This Issue: If your issue has been resolved on your end, you can close the ticket by providing confirmation.
• Cancel Request: If the ticket was created by mistake, you can cancel it.
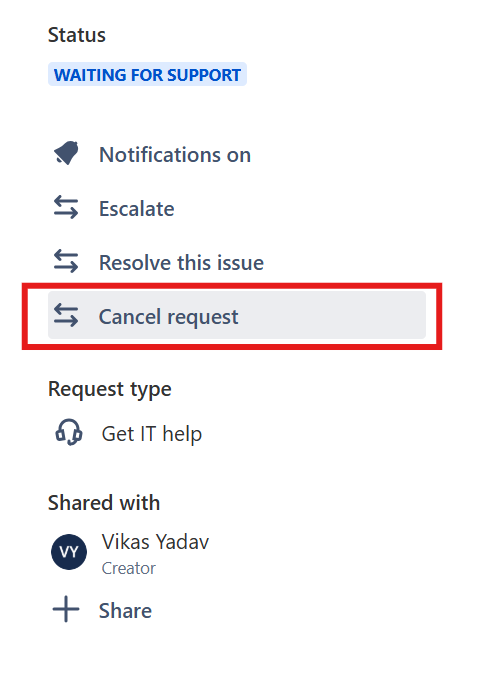
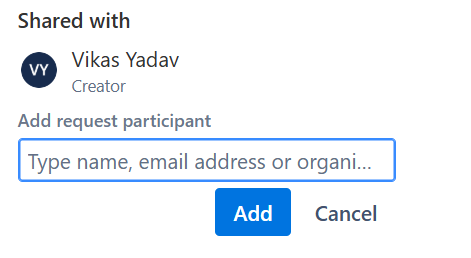
• Share: Share the ticket with your internal team or someone from Zamplia Support.
o Enter the email address of the person you want to share the ticket with and click Add.
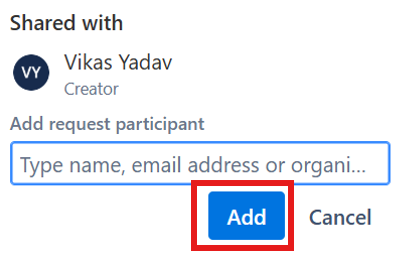
After clicking on share, kindly provide the email address of that person with whom you wanted to share this ticket. Then click on Add to send this ticket to that person.